Linux管理面板——cockpit 安装和配置
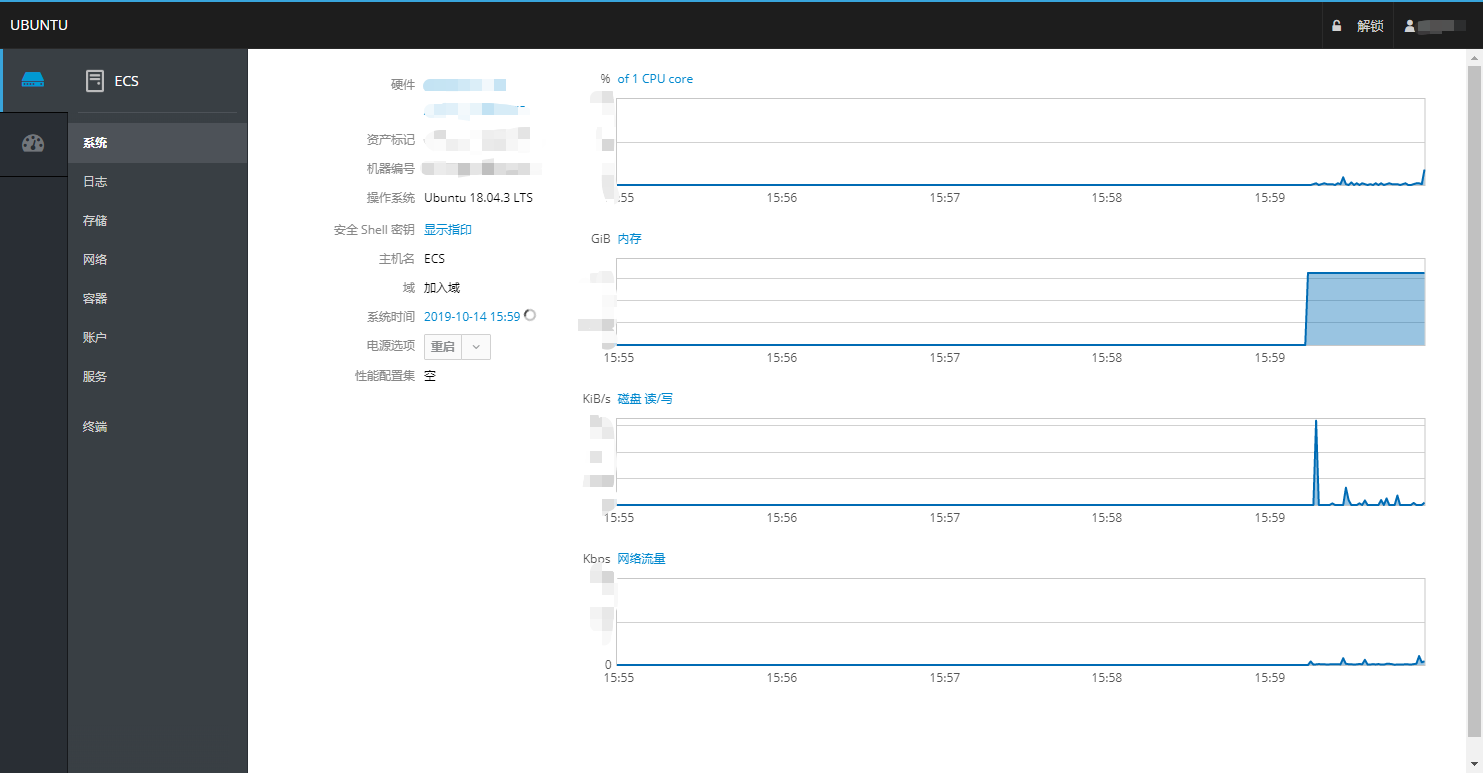
Cockpit 是一个开源 linux 软件,官网的介绍是“为你服务器准备的易用的、集成的、可扫视的、开放的网络界面”。通过 cockpit,我们可以通过网络进行(多台)服务器的管理,如审查用量、重启服务、查看 docker 等操作,省去了一些 ssh 操作。

本文环境
阿里云ECS,系统为 Ubuntu 18.04 LTS
安装
sudo apt update
sudo apt install cockpit
sudo apt install cockpit-docker # 如果不需要 docker 管理可以略过
配置
端口更改
(官方文档)
cockpit 默认开放在 9090 端口,更改端口需要更改文件 /etc/systemd/system/cockpit.socket.d/listen.conf,这个文件默认不存在,需要我们手动建立:
sudo mkdir -p /etc/systemd/system/cockpit.socket.d
sudo touch /etc/systemd/system/cockpit.socket.d/listen.conf
编辑文件内容为
[Socket]
ListenStream=127.0.0.1:1234这里,127.0.0.1代表只允许来自本机的连接,1234 是你选择监听的端口。
重启服务:
sudo systemctl daemon-reload
sudo systemctl restart cockpit.socket
nginx 反代
因为 cockpit 默认采用 https 连接(默认自签CA),而其采用的证书与 letsencrypt 兼容性不好,而且与 nginx 同时占用 443 端口会冲突,因此我希望 cockpit 跑在 nginx 后面,使用 https://cockpit.example.com 访问。
编辑 /etc/nginx/sites-available/cockpit.example.com.conf为:
server {
    listen 443 ssl http2;
    listen [::]:443 ssl http2;
    server_name cockpit.example.com;

    ssl on; # 以下证书位置自行调整
    ssl_certificate /etc/letsencrypt/live/cockpit.example.com/fullchain.pem;
    ssl_certificate_key /etc/letsencrypt/live/cockpit.example.com/privkey.pem;
    ssl_trusted_certificate /etc/letsencrypt/live/cockpit.example.com/chain.pem;

    include snippets/general.conf; # 这里放一些通用设置

    location / {
        proxy_pass https://127.0.0.1:1234; # 上一步的端口号
        proxy_set_header Host $http_host;
        proxy_set_header X-Forwarded-Proto $scheme;
        proxy_http_version 1.1;
        proxy_buffering off;
        proxy_set_header Upgrade $http_upgrade;
        proxy_set_header Connection "upgrade";
        gzip off;
    }
}
创建软链接:
sudo ln -s -T ../sites-available/cockpit.example.com.conf /etc/nginx/sites-enabled/cockpit.example.com.conf重载 nginx
sudo nginx -t && sudo service nginx reloadcockpit 安全性配置
我们还需要配置一下 cockpit 的安全性设置,防止 XSS 攻击,编辑 /etc/cockpit/cockpit.conf:
[WebService]
Origins = https://cockpit.example.com wss://cockpit.example.com
ProtocolHeader = X-Forwarded-Proto
MaxStartups = 3 # 从第三次密码错误开始拒绝尝试,防止暴力破解
重启服务:
sudo service cockpit restart为 cockpit 添加二步验证
到现在为止,访问 https://cockpit.example.com ,使用你的账户密码登陆就可以使用了。
但是注意到,这里登陆只需要
- 网址
- 用户名
- 密码
比起 ssh 登陆可以强制只允许密钥登陆的默认 2048 bits 密码安全度,这里的安全性有点弱了。为此,我们可以加上 二步验证,这里笔者推荐 Google authenticator。
安装(如果你没有安装过)
sudo apt install libpam-google-authenticator生成口令(注意没有 sudo)并用手机 app 保存
google-authenticator # 下面根据提示生成二维码(url)配对配置 cockpit 使用 2FA,编辑 /etc/pam.d/cockpit,在文件最后加上:
# Google 2FA
auth            required        pam_google_authenticator.so
再重新载入一遍 cockpit(sudo service cockpit restart),就会在登陆时要求验证 2FA,安全系数提高。
